
The Secret to Perfectly Pressed Shirts Every Time
Perfectly Pressed Shirts
Nothing completes a polished and professional look quite like a perfectly pressed shirt. Whether you’re preparing for an important business meeting or a formal event, or simply want to present yourself at your best, mastering the art of achieving that crisp, wrinkle-free finish can make a big difference. At Jimmy’s Cleaners and Alterations, we specialize in garment care, and we’re excited to share our expert secrets for getting perfectly pressed shirts every time.
1. Choose the Right Fabric
The type of fabric you’re working with plays a critical role in how well a shirt presses and retains its shape. Understanding the material will help you adjust your pressing technique and achieve the best results.
- Cotton and Linen: These natural fibers are ideal for pressing because they can handle high heat, which effectively removes wrinkles. Cotton, in particular, presses smoothly and holds a sharp crease well. Linen, while more prone to wrinkling, responds beautifully to a hot iron.
- Blends and Synthetics: Polyester blends and synthetic fabrics require more care. High heat can easily damage or scorch these materials, so it’s important to use a lower heat setting and follow the garment’s care label. Many synthetics will also benefit from using a damp pressing cloth to prevent shiny marks.
2. Proper Washing Techniques
Achieving a perfectly pressed shirt starts with proper washing. A dirty or stained shirt will not only look less sharp but ironing over dirt can set stains permanently into the fabric.
- Pre-Treat Stains: Always address any stains before washing. Treat spots with a pre-wash stain remover or a mixture of baking soda and water for tougher stains.
- Use the Right Detergent: Opt for a mild detergent to preserve the fabric’s integrity. Adding a fabric conditioner can also help keep fibers smooth, which makes ironing easier.
3. Correct Drying Methods
How you dry your shirts significantly impacts how much ironing they’ll require later. Proper drying techniques can reduce wrinkles and make the ironing process quicker.
- Hang Dry: Whenever possible, hang your shirts to dry on wide-shouldered hangers. This reduces wrinkles, especially around the shoulders and collar.
- Avoid Over-Drying: If you use a dryer, set it to a low or medium heat and remove the shirts while they are still slightly damp. Damp shirts are much easier to iron and will yield a more polished result.
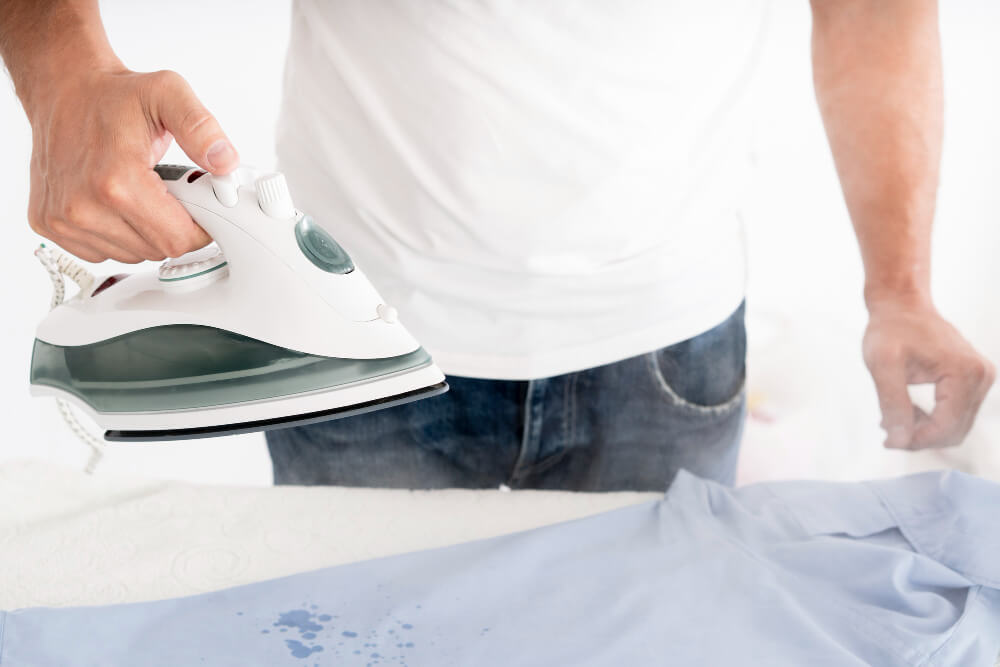
4. Ironing Techniques for Perfect Results
Mastering the art of ironing is essential to achieving that crisp, professional look. Follow these key techniques to ensure your shirts come out perfectly every time.
- Use a Quality Iron: Invest in a high-quality steam iron with adjustable heat settings. A steam iron will help smooth out stubborn wrinkles and give you more control over delicate fabrics.
- Iron Damp Shirts: One of the secrets to a smooth press is ironing shirts when they’re slightly damp. The moisture makes it easier to remove wrinkles and create crisp folds. If your shirt is already dry, lightly mist it with water or use the steam function on your iron.
- Pay Attention to Detail: Ironing a shirt is an art, and there’s a method to follow:
- Collar: Start with the inside of the collar, pressing from the edges toward the middle to avoid creating creases.
- Cuffs: Next, move to the cuffs, pressing them flat. Always unbutton cuffs before ironing.
- Front Panels: Work on the front panels, paying special attention to the area around the buttons. Use the tip of the iron to press between them without pressing over the buttons directly.
- Back and Sleeves: Lay the shirt flat on the ironing board and smooth out the back. Use the narrow end of the ironing board to help press the shoulders and sleeves evenly.
5. Starch for Extra Crispness
If you want that extra sharp, professional look—especially for business shirts or formal wear—starch can be a helpful tool.
- How to Use Starch: Lightly mist the shirt with starch before ironing. Start with a small amount, as too much starch can make the fabric stiff and uncomfortable. Focus on the collar, cuffs, and front placket for an added layer of crispness. Be careful not to over-starch areas like the back or sides, as it can lead to a rigid and uncomfortable feel.
6. Storage Matters
Even the best pressing job can go to waste if shirts aren’t stored properly. How you hang and store your freshly pressed shirts will determine how long they stay wrinkle-free.
- Hang Immediately: Once your shirt is perfectly pressed, hang it immediately on a sturdy, wide-shouldered hanger to prevent any new creases from forming. Avoid wire hangers, as they can cause unsightly dents in the fabric.
- Avoid Overcrowding: In your closet, give your shirts enough space to breathe. Overcrowding can cause wrinkles to form, even on freshly pressed garments. If necessary, place garment bags over particularly delicate or light-colored shirts to protect them from dust or snagging.
Conclusion
Getting perfectly pressed shirts doesn’t have to be a complicated or time-consuming process. By following these simple tips—selecting the right fabric, using proper washing and drying techniques, mastering ironing strategies, and ensuring proper storage—you can achieve that polished, crisp look with ease. Whether you’re preparing for an important meeting or a formal event, or just want to look your best, these strategies will ensure your shirts always look impeccable.
However, if you’d rather leave the work to the professionals, Jimmy’s Cleaners and Alterations is here to help. We offer expert pressing, cleaning, and alteration services, ensuring that your shirts are always in perfect condition. Contact us today or fill out the form below to learn more about our services, and let us take care of your garment care needs so you can always step out in style!